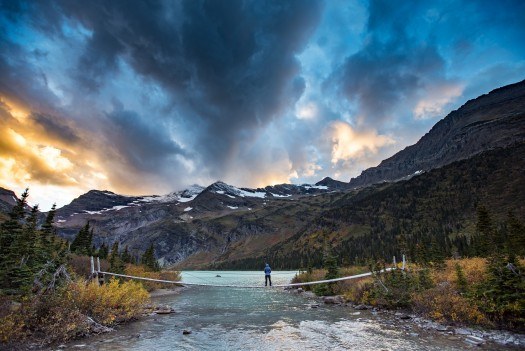
A Portlander’s Guide to Backpacking Glacier
By jq_waller in News
Hey Portlanders…feeling a little crowded out in some of our favorite outdoor habitats? Looking for an adventure that’s a little more exotic but doesn’t require a TSA line? Ask any Portlander what they love about where they live and they will probably mention how close Mt Hood, and the Columbia Gorge, and the Oregon Coast are…but what you will never hear is that Glacier National Park is an easy overnight train ride away. It’s no secret, but it seems to have been quietly overlooked in the commotion of all things Portlandia. Seriously, jump on the train in the late afternoon and you will find yourself at the gateway to the staggeringly beautiful Glacier National Park early the next morning. It’s that easy. And to assist you with this new addition to your bucket list, here’s a simple step by step guide to the backpacking trip of your dreams.
Step 1: Book your Amtrak tickets.
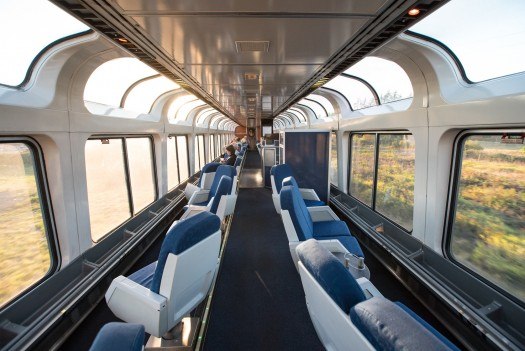
When do you want to go? Remember that the season starts late in Glacier…the backcountry is still buried with snow even into mid July, but if like to earn your ski turns, this will be a good problem for you. And the season ends early…transportation and park services pretty much wrap by October, not to mention the onset of winter weather. The best time to go? If you like few people, lots of backcountry campsite options, and mind blowing fall colors against snow dusted peaks, September is the month. Plan for no fewer than 4 days in the park, and a half day on either end for the train. When it’s on schedule, Amtrak pulls away from Union Station in Portland at 4:45 PM, and arrives in West Glacier around 8:15 AM the next morning. For the return trip, expect the train at 8:30 PM at West Glacier and a return to Portland at 10:10 AM in the morning. Round trip tickets start at $150 per person…price increases dramatically when you get a sleeping cabin, but so may your vitality after a night on the train.
Step 2: Plan your backpacking route.
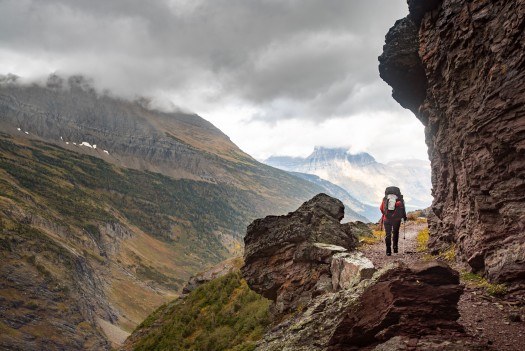
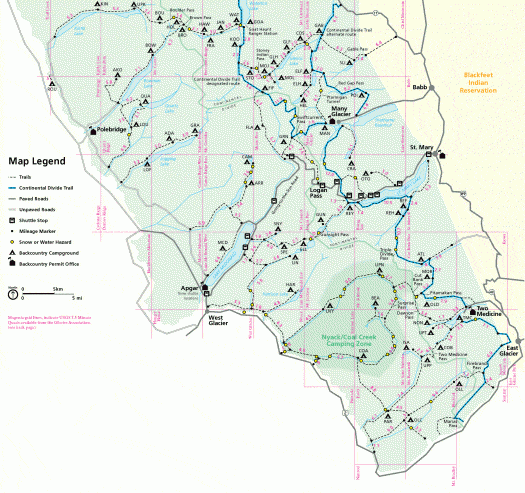
There is an incredible network of backcountry trails in Glacier that intersect the Going to the Sun Road, the main conduit for vehicle traffic in the park. Loops and cross overs are easy to design, and you can always count on a simple out and back. Your route will be dependent on how far you want to hike each day, paired with available campsites. Backcountry camping in Glacier is limited to designated campsites that have only a few spots per location. Crack a beer and spend an hour or two geeking out on the map that shows mileage and which campsites are free for your travel dates, and put an itinerary together. Google images will be your friend as you research the jaw dropping scenery you might expect to encounter on a route.
Step 3: Get a Backcountry Advance Registration.
Backcountry permits may be available the day before or day of your desired trip start date. Half of all sites in a campground are set aside for walk-in campers. However, that does not mean those sites will be available at all times. Backpackers on longer trips (4 or more nights) may take walk-in sites well in advance. Avoid the uncertainty of where you might end up or the complication of having your intended route not work because a campsite isn’t available by registering well in advance. It’s great when you’re out there and you only encounter a few people at a campsite, but it also means that they are in high demand. When you register online, you’ll put down your first pick and several alternatives. The national park will respond with your confirmed itinerary…they say to give them a month. Registration for summer opens March 15. You’ll have to pick up your permits from the Apgar Backcountry Permit Office and endure a safety video before you hit the trail.
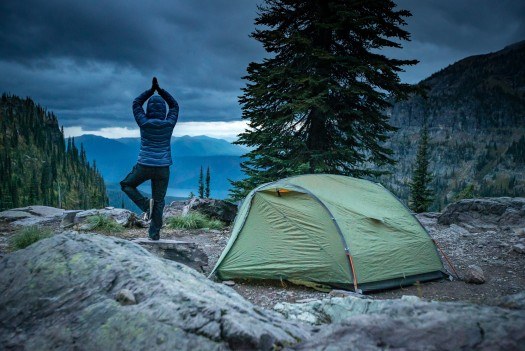
Step 4: Be Bear Aware.
Seriously. This isn’t your benign Cascade forest where your biggest concern is keeping mice out of your chocolate covered espresso beans. There are grizzly bear in Glacier and they are not to be underestimated. Buy some bear spray before you go, make sure you know how to use it, and keep it handy at all times. Campsites have designated food prep areas and storage lockers or bars to hang your food. Bear boxes aren’t required, but you do need to have 25 ft of strong chord to hoist you food bags whenever they’re not in use. And just always be vigilant…it adds a whole new dynamic to the backpacking experience knowing that there are no fences between you and a massive bear with teeth and claws. Skeptical? Check out this recent video from a victim of a grizzly mauling. Hard core.
Step 5: Inner Park Transportation
Once you get to West Glacier, there are a number of transportation options that you can find at the Amtrak station that will get you into and around the park. The West Glacier Amtrak station is about two miles from the park entrance, so worst case scenario is you have a short walk ahead of you…consider it a warm up for your big trek. But once into the park, there are shuttles that run the Going to the Sun Road multiple times daily through mid September. After that, a local friend or hitchhiking may be your best options for trailhead drop off and pick up.
Still not quite convinced that backpacking Glacier is the bees knees or the kitties titties? This full gallery of photos from our September trip may interrupt your plans to frolic with the hoards in Oneonta Gorge. All aboard!
